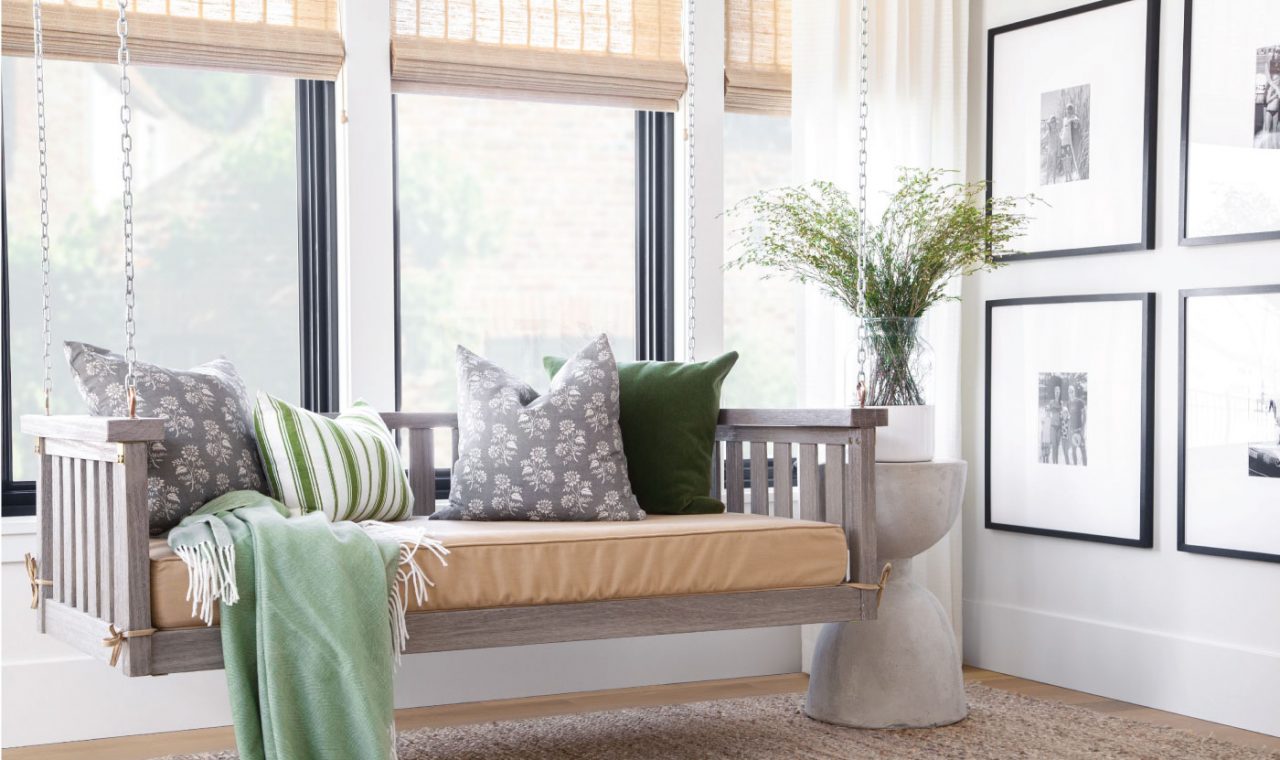
One of the most popular questions we get asked is if/how we incorporate our clients family photos into their homes. The short answer is yes, of course we do – we just find a beautiful to do it so that it fits effortlessly with their home’s design! Over the years, we’ve created our own signature way to do this through grid gallery wall installations.
A sleek, grid gallery wall is not only the perfect opportunity to fill up some empty wall space but is also a way share your own family photos or images from your personal travels. In our opinion, we find the grid style much easier to put together (and install!) than the collage gallery wall as well!
Today we are sharing our guide to creating a grid gallery wall, tips on how to make it look clean and flawless, and a roundup of the frames we use in our own projects for it! Let’s get started, shall we?


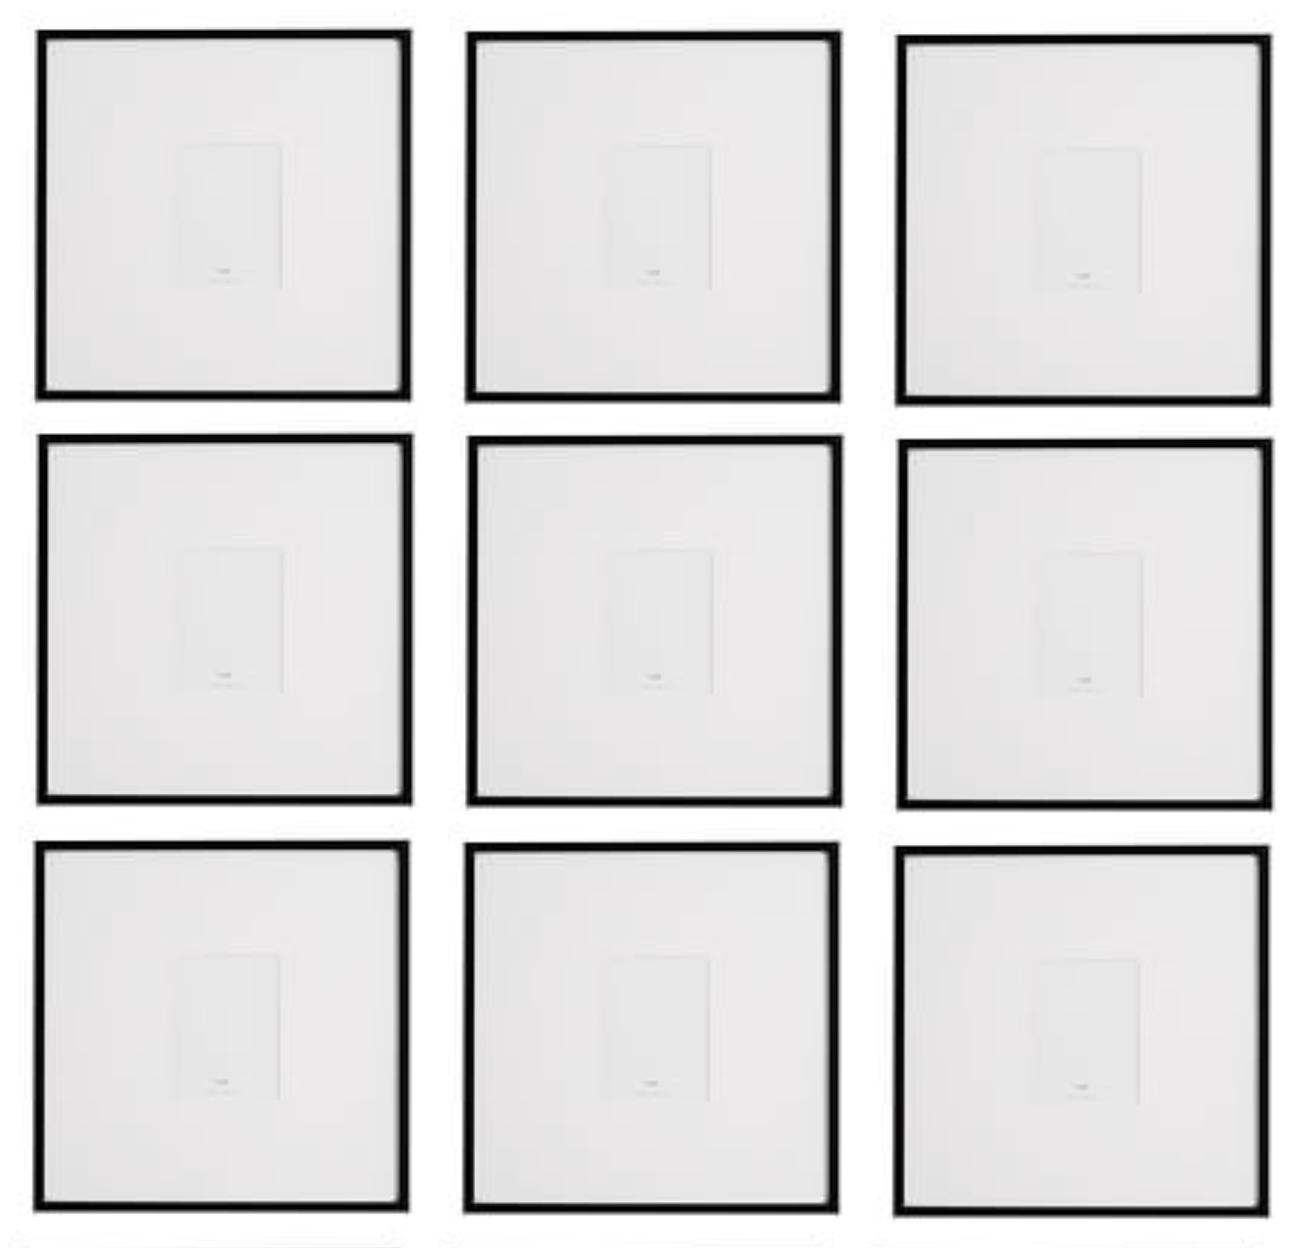
Frame: The area where you’re installing the wall will definitely have an influence on what type of frame you want to use!
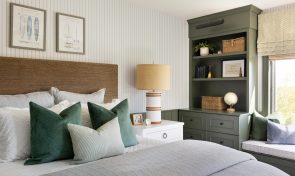
Living room or bedroom: If it’s going in a busier room like a living room or bedroom, opts for a simple black frame. This will make ensure the wall doesn’t distract from the overall design of the space and prevent it from looking too cluttered.
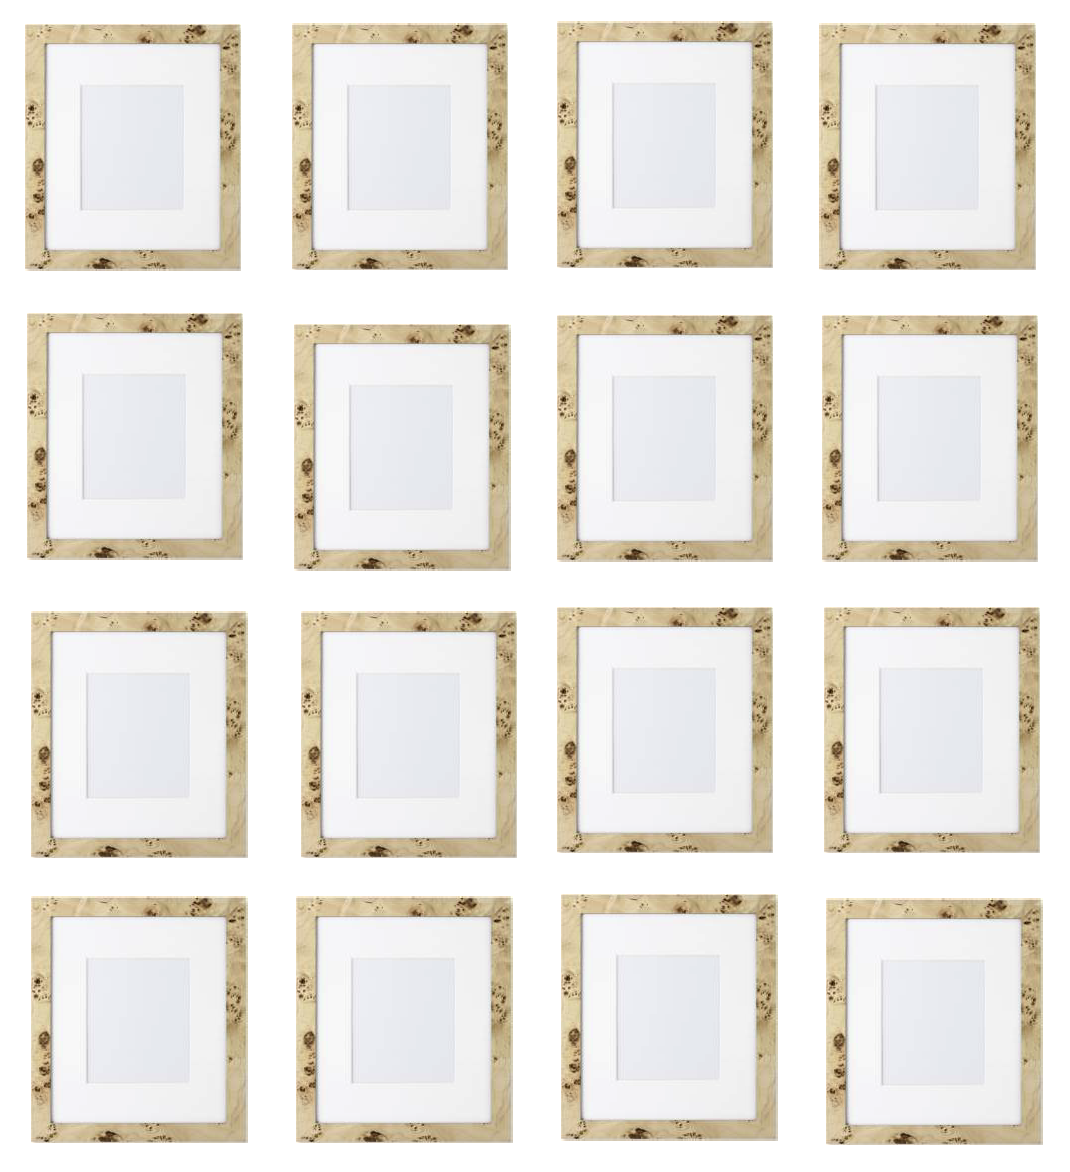
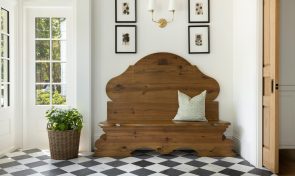
Hallway or Foyer: For spaces that need a bit more visual interest, a brass or burl wood frame is a great option! We love that it is still fairly neutral but adds a bit more texture or shine to create a showstopping moment.
Photo Selection: It is very rare for us to do photo galleries of any kind with color photos. By going exclusively with black and white photos it allows you to showcase your precious family moments while creating a cohesive, clean installation.
Sizing and Spacing: The size of your frames really depends on how large of an area you have to work with but we typically like to go with fewer, larger frames rather than an abundance of small frames to fill up a wall. In terms of spacing, we generally live by the rule of a 3” – 4” gap on all sides to keep things from feeling too tight.


Comments