
Between documenting our client’s homes and capturing Brooke & Lou’s collections, it’s safe to say we’ve executed a fair share of photoshoots in our day. Honestly, it’s rare for us to go more than a few weeks without one, and the reason being is that they have completely transformed our businesses over the years! For us, our images have become our biggest selling tool and a storyteller for our brands. They’ve brought us clients, conveyed our aesthetic, and allowed our B&L customers to see our products in action.
We’ve invested so much time, money, and thought into our photoshoots and it makes us so happy to see when you all loving the final product when we display them proudly on our Instagram or blog. We’re also flattered to see the number of comments, DM’s, and emails we receive asking us about our photoshoot process and tips. So, today we’re sharing our biggest bits of advice when it comes to planning and executing the perfect photoshoot. Plus, a roundup of our Stylist’s go-to styling pieces!
Tip #1: Take Your Time
Hiring an experienced photographer isn’t cheap. So, make sure you’re using the time that you do have with them to the fullest! If that means it takes 30 minutes to set up the shot or asking your photographer to grab just a few more angles of the space before moving on to the next room, do it.
Pro Tip: If possible, ask your client if you can come the day (or even a few hours!) before the photoshoot so when your photographer arrives you’re ready to shoot.
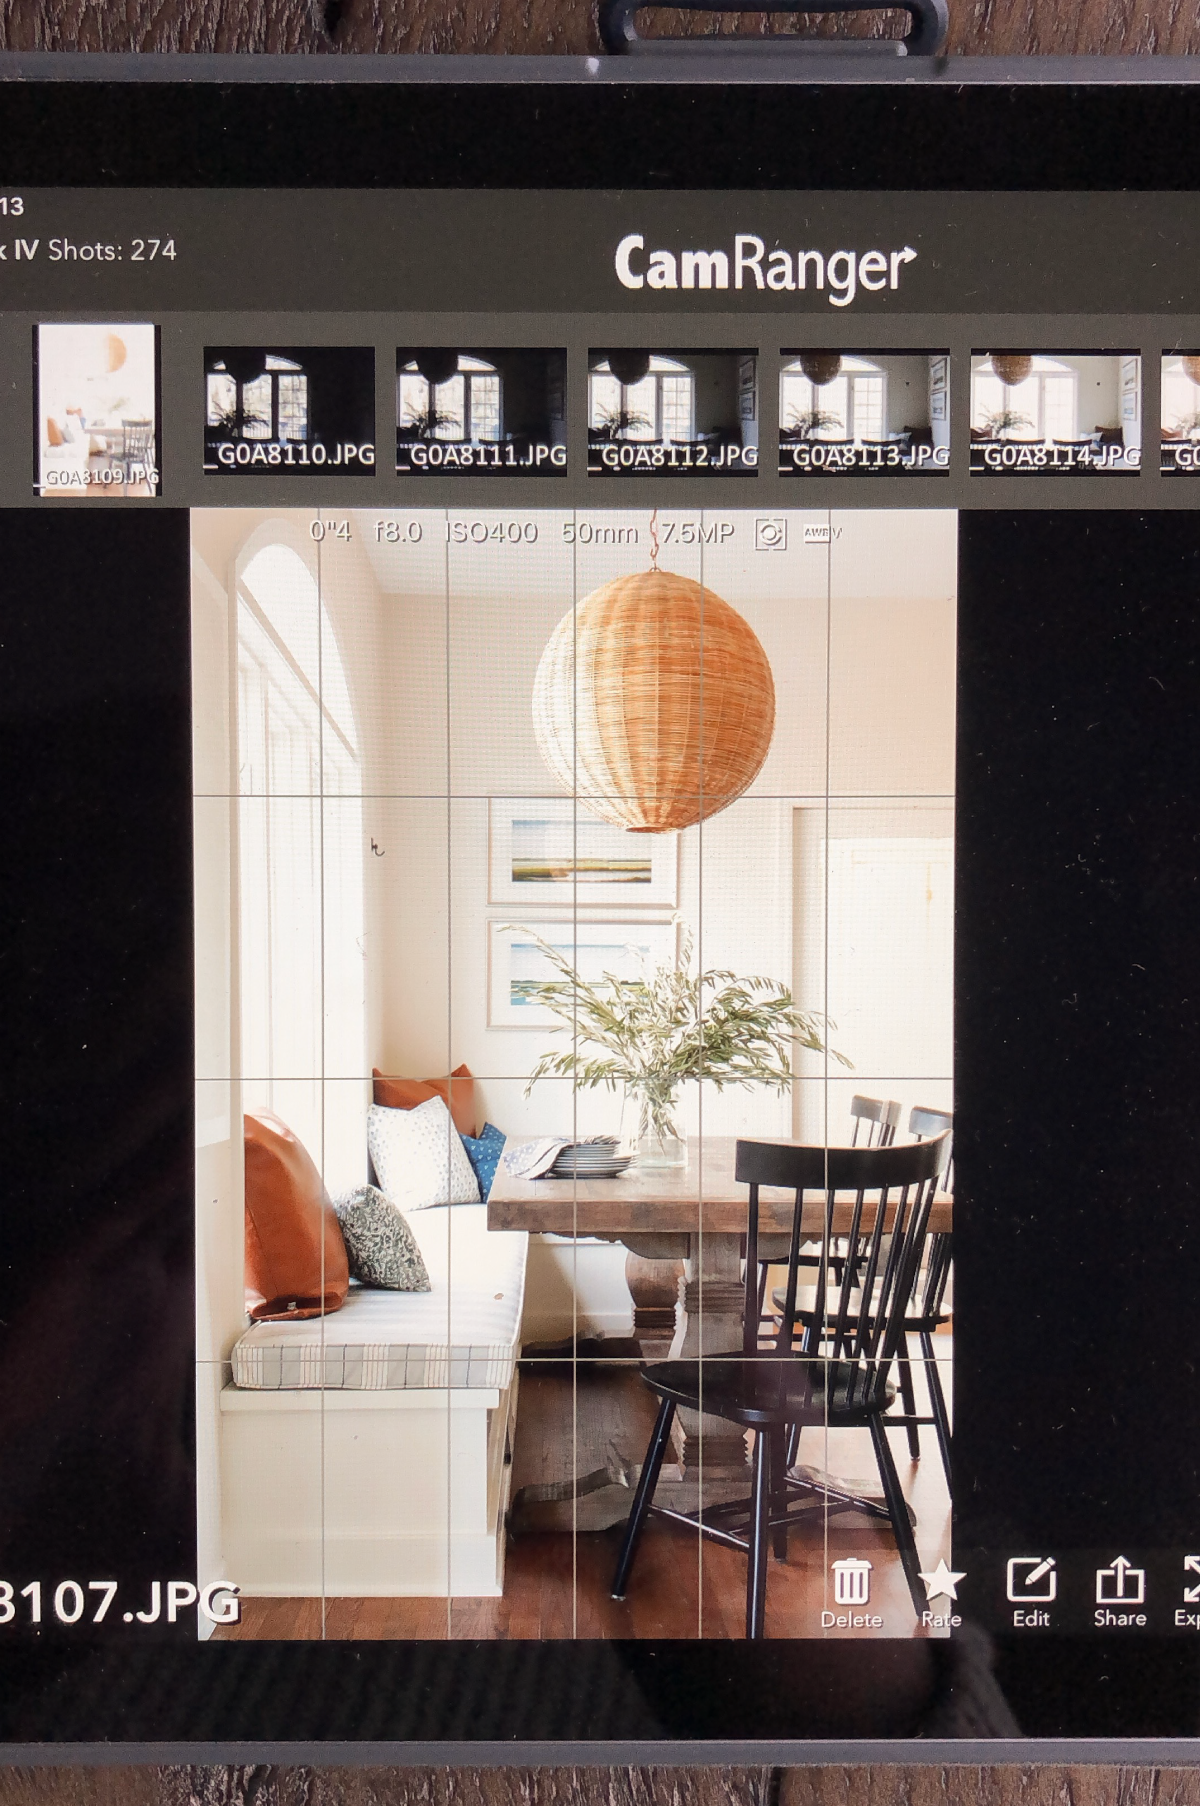
Tip #2: TETHER!
If we could bold, underline, and circle this tip we would because it might be the most important one. We don’t know how we would do our photoshoots without wirelessly tethering to an iPad. The screen on the back of the camera is so small that in order for us to see everything properly and make sure the lighting is good and everything is in place, we use the iPad. Bria typically studies the screen meticulously while instructing our Stylist or team to adjust pieces in the shot until it’s just right. It might be tedious, but it 100% pays off.
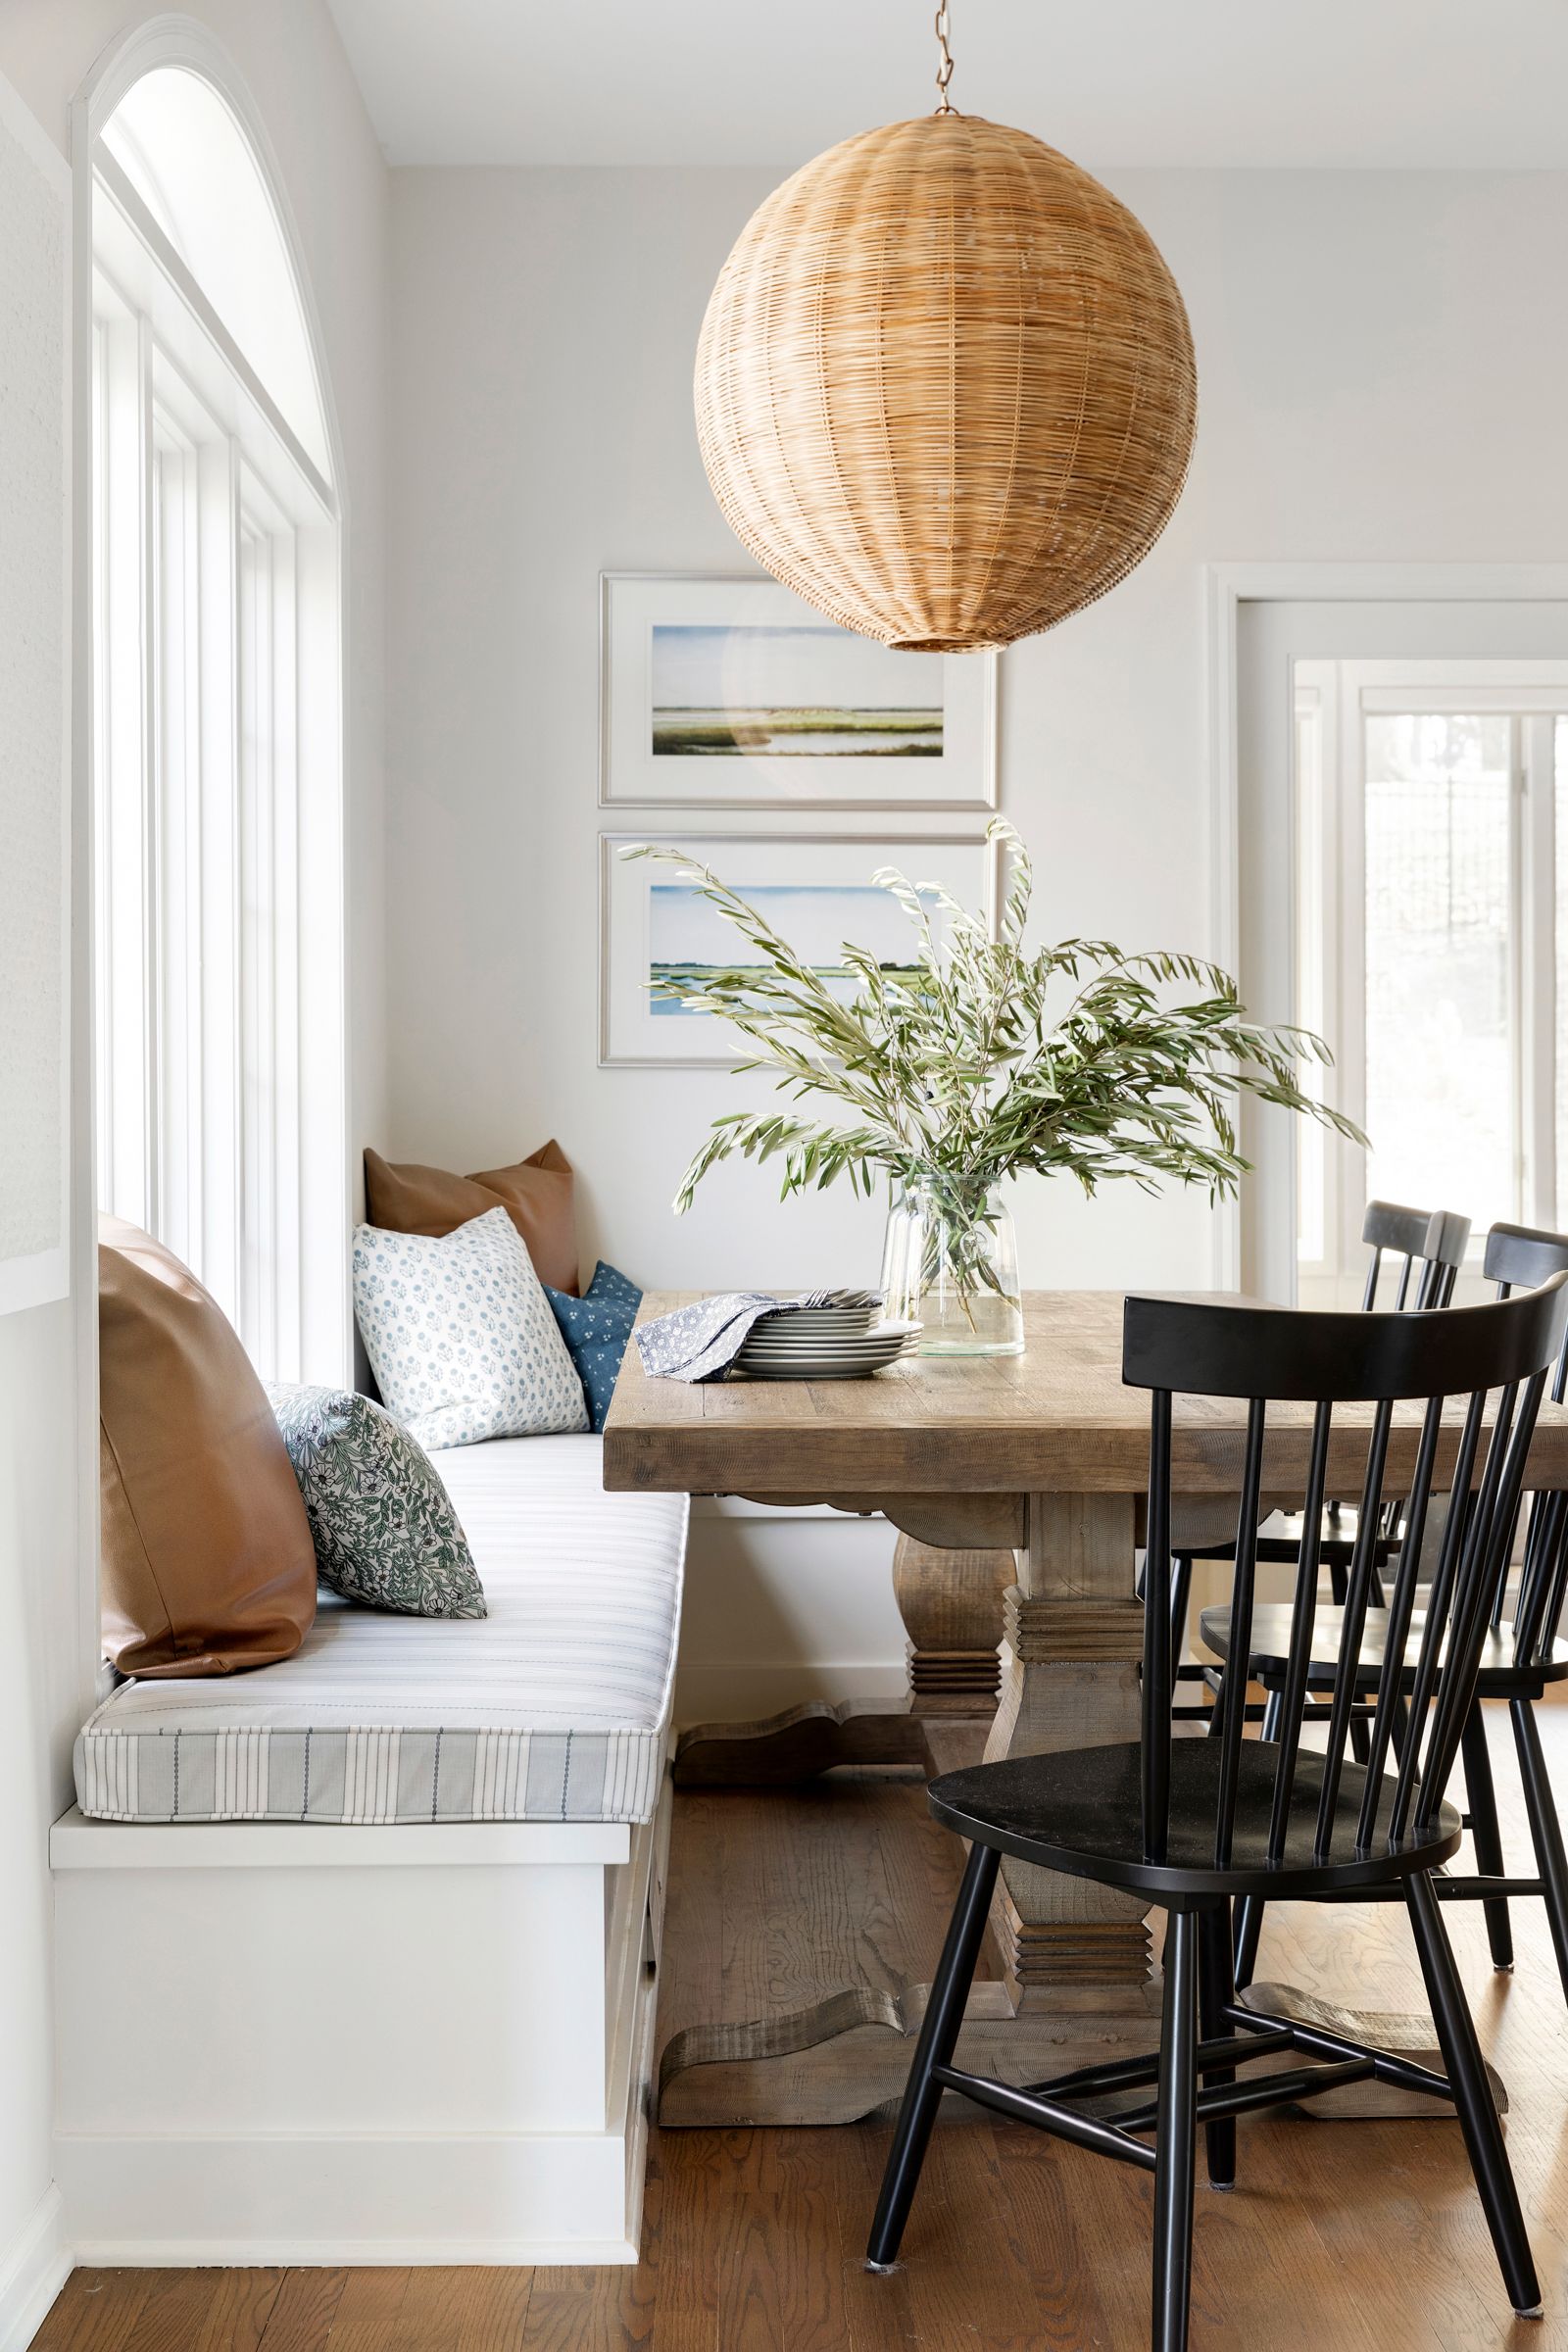
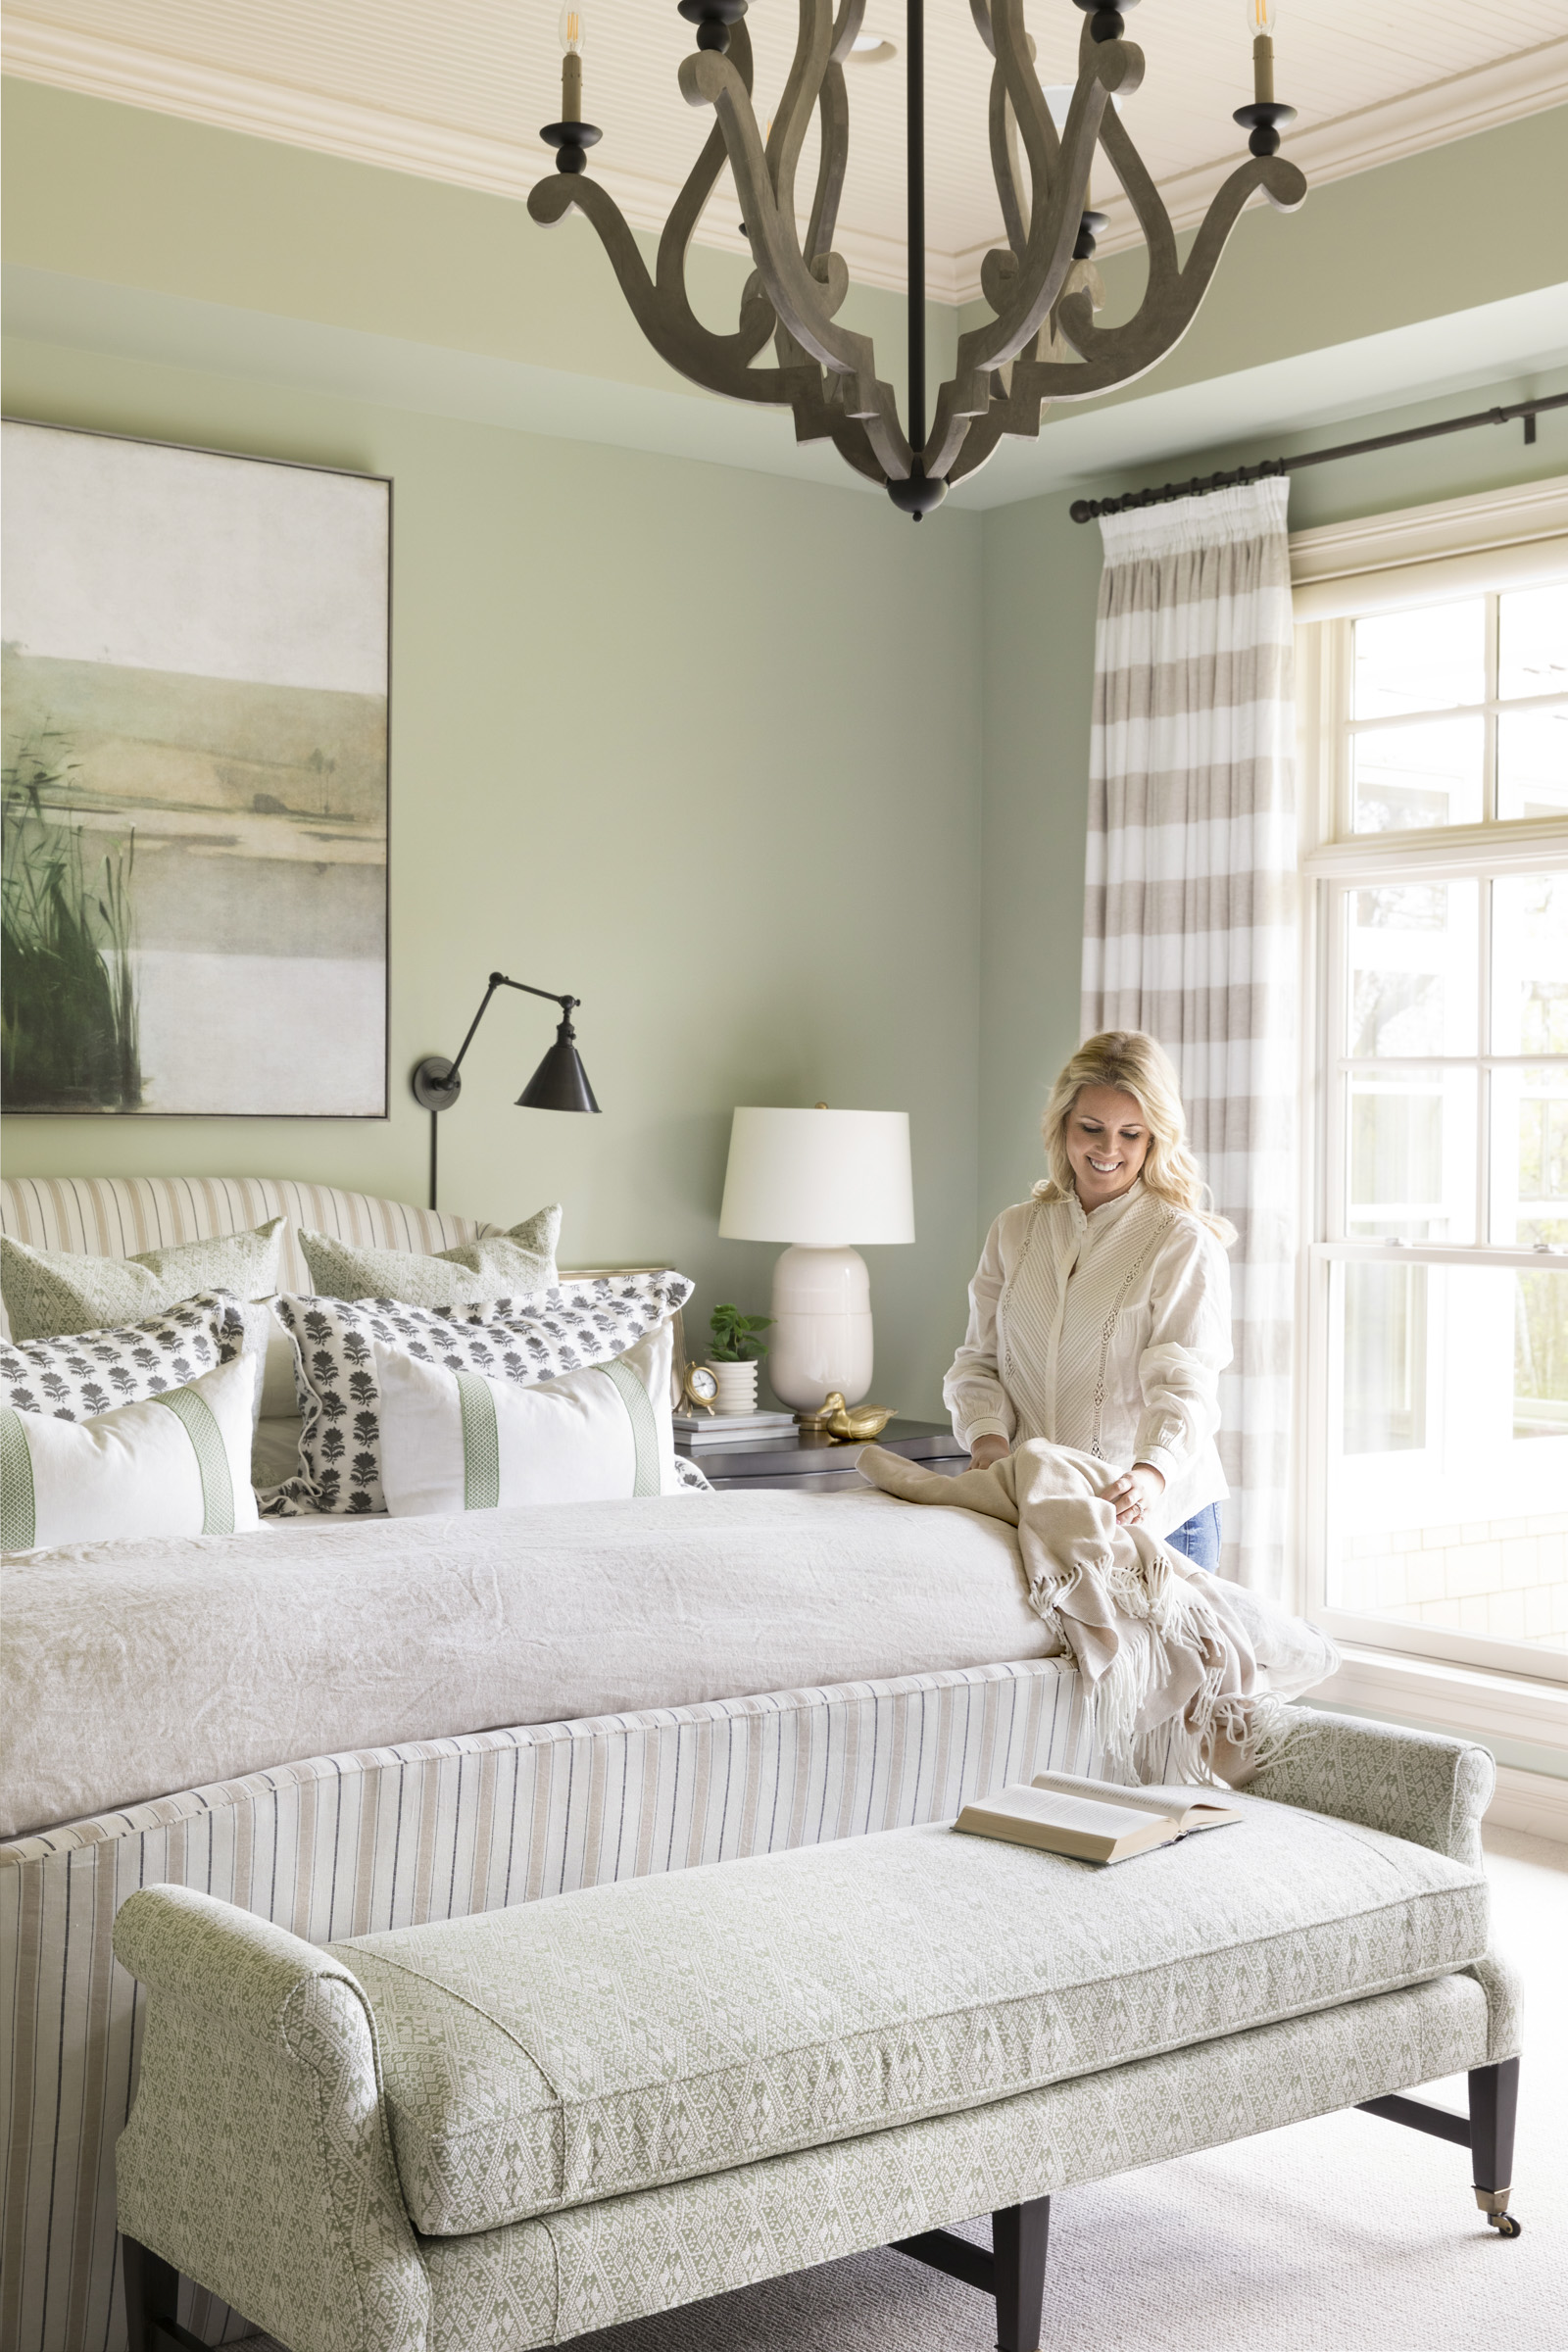
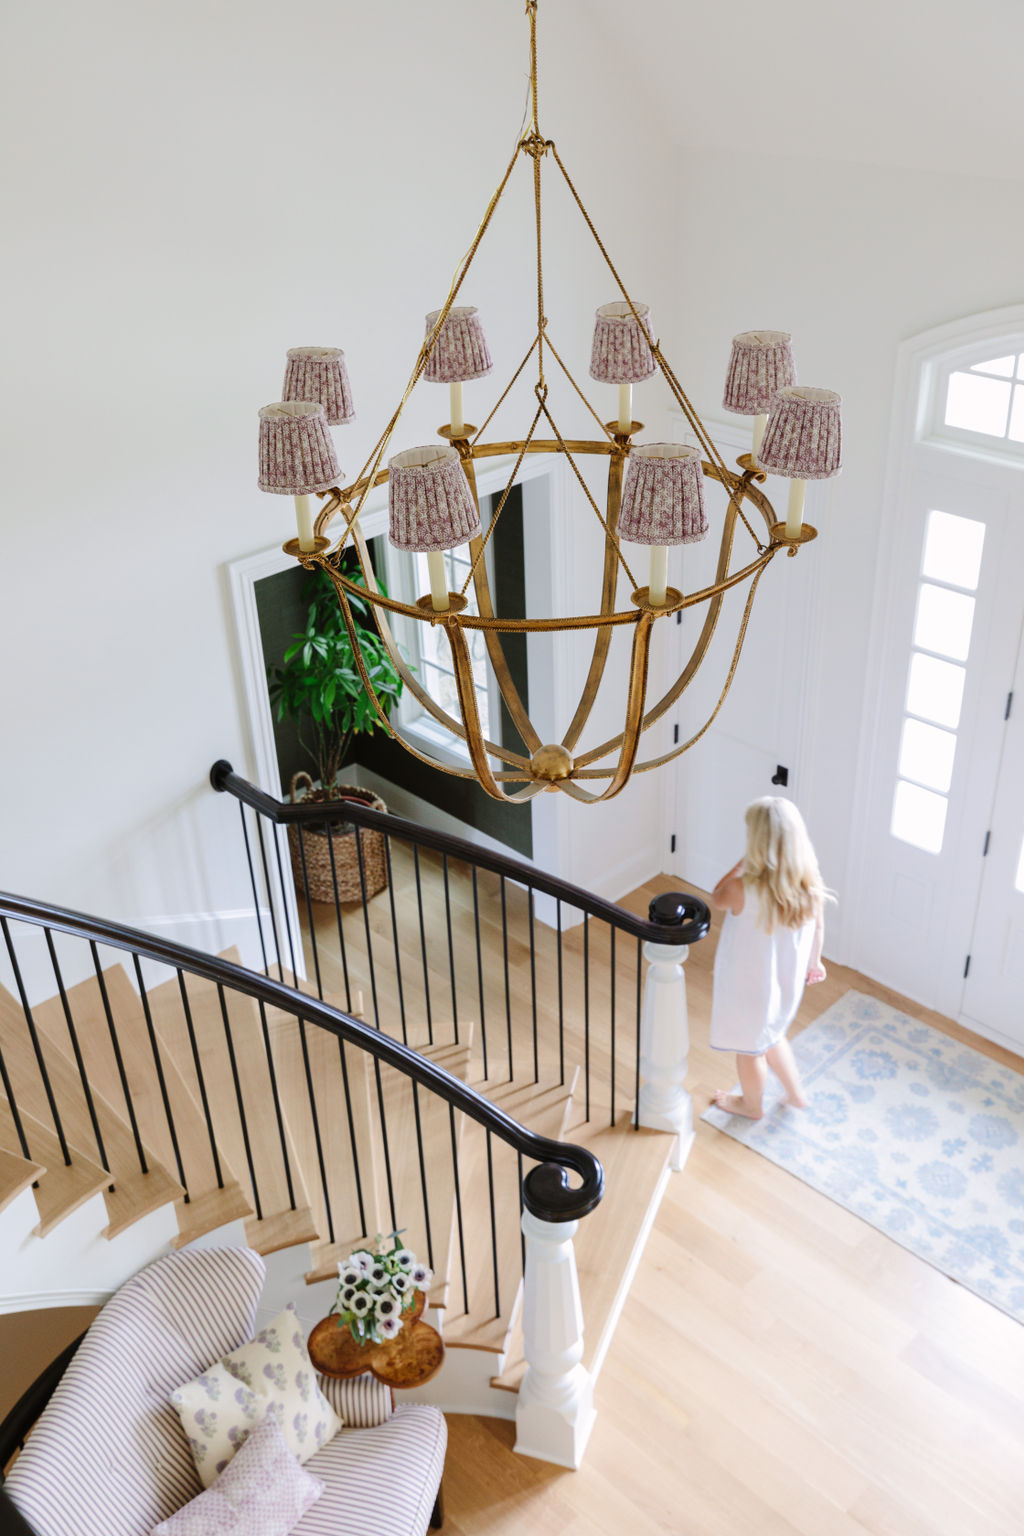
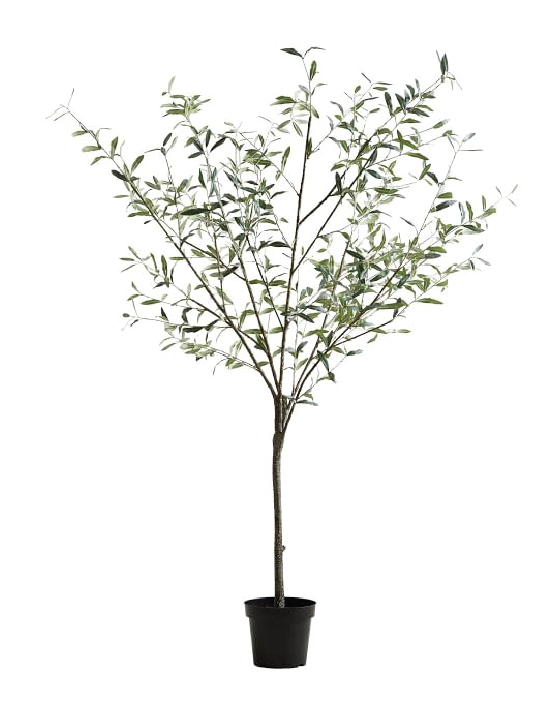
Tip #3: Pack way more accessories and props than you think you need, and then pack a little bit more.
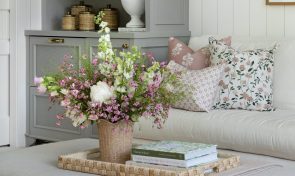
Our clients are always surprised when they see how many accessories and styling props (i.e. flowers, greenery, food, etc.) into a shoot. But, it’s better to have more options than no options at all. Cameras are tricky things! So, a vase that would normally look fabulous on a dining table in real life, might look teeny tiny on camera. We pack a range of accessories that vary in scale, texture, and color so we have enough options of pieces that will compliment a scene rather than distract or take away from the focus of the room itself.
Pro Tip: After enough photoshoots, you’ll build a group of styling staples. We have large, plastic bins sorted into room (i.e. kitchen, bathroom, etc.) that are no-brainers to throw into our cars for each shoot.

Tip #4: Create a Shot List
Photoshoot days can be hectic, so having a rough outline of what you want to capture is a game-changer. Make note of certain images you want for your social or website – whether it’s a headshot of you in the space or a horizontal wide shot of a room for your website homepage. This will ensure that when you get home at the end of the day you’re sure you’ve captured every room, angle, and detail you want.
This is what we typically plan for per room:
– 1 horizontal image of the entire room (if possible).
– 1 vertical image of the entire room.
– 2-3 different vertical angles or vignettes of the space.
– A handful of close-up detail shots (this really tells the story of the room!).


Comments